How to build a simple wash basin table
Hi friends, welcome back. This post is a continuing one from the first part of building simple basin table. Here is the link. Till that part, I had just made the carcass. Today I will show you how I have made further progress on it.
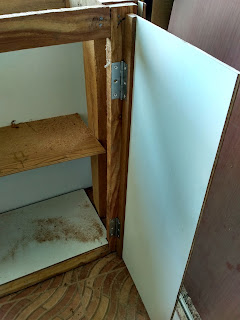
I have cut the doors in size using 8mm plywood. As I will not put load on the door, this much thick plywood will be ok. Then hinges need to be fixed. Since plywood is not that thick, I have to fix an additional wood beading so that screws can sit well holding the hinge on the door. Two hinges are fit in each door.
Then door is fitted to the main body with the other side of the hinge. Keep proper gap so that door is well above the ground level and it should have clearance on the sides so that while opening, it opens by at least 90 degree.
Two hinges on the each door are fixed.
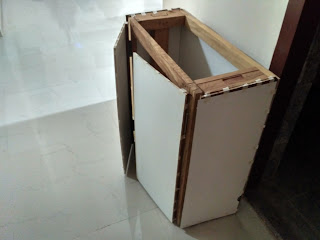
Both the doors are fixed on the main body now.
Then I have fixed laminates on the sides and doors. Use carpenter's masking tape for holding the laminates on the sides.
I have used fevicol marine for fixing the laminates. Its water resistant, good because the basin body may have to withstand moistures once in action.
I have fixed plain wood beadings on the door. Two reasons - first one is - to have enough thickness so that I can fixed a door handle on it. Secondly, alignment of the doors. It will hide any discrepancy.
On both the sides, I have used wickes beading (I hope this is the correct name for below type of beading - got to know from a hardware shop guy).
Stay tuned for the next part.


No comments:
Post a Comment